I'm so excited to be showing you my very first tutorial!!! I made these pumpkin topiaries a few years ago, as I mentioned in my post about Fall. You can see it here if you missed it. This project was very easy and didn't cost a lot of money to do. To get started this is what you need....
1. 3 faux pumpkins-(I purchased mine from Hobby Lobby at the end of the Fall years ago on clearance). You'll want to get 1 large round, 1 medium fat & flat, and 1 small pumpkin; all with pre-cut holes in the bottom of them like this......

2. ivory spray paint
3. 3 inch screws with a sharp tip
4. raffia (you could also use a strand of faux Fall leaves, burlap, etc.)
5. plastic pots (I got mine from Dollar Tree)
6. burlap
Here is a picture of the pumpkins stacked together before I painted them. I was testing them out to see if I wanted to leave them their natural color so I threw some Fall leaves around them from Dollar Tree.
I decided I wanted a more muted look to match my Fall wreathes so I spray painted them (separately) with 2 coats of Ivory spray paint from Lowe's. If I had the time, I would go back over the spray paint with a light layer of Annie Sloan Chalk Paint in Old White . I've painted faux fruit before for my dinning room table centerpiece, with Chalk Paint and it turned out lovely! See here.
Next, I drilled 2 holes in the top of the largest/bottom pumpkin and holes in the bottom rim of the middle pumpkin to attach the 2 pumpkins together. These 2 sets of holes need to align so that they match up and will allow the pumpkins to stay together via the screws. I then stuck 3 inch screws that I found in our garage (leftover from when we built our pergola) through the holes.
 |
| This is the screw that goes through the bottom rim of the middle pumpkin and feeds into the hole in the top of the largest/bottom pumpkin. |
 |
| bottom and middle pumpkins attached together after placing screws |
Then I took the top pumpkin (it came like this with a hole in the bottom) and placed it over the stem of the middle pumpkin. I was planning on attaching this top pumpkin to the middle pumpkin with screws as well but it wasn't necessary. After I put the small pumpkin on top, I noticed that the stem of the middle one was so big that it stabilized the top pumpkin enough without using screws. So, if you can't find a middle pumpkin with a large stem, just drill holes in the bottom rim of the top pumpkin and the top of the middle pumpkin and attach screws just like you did to attach the bottom 2 together.
 |
| top/small pumpkin |
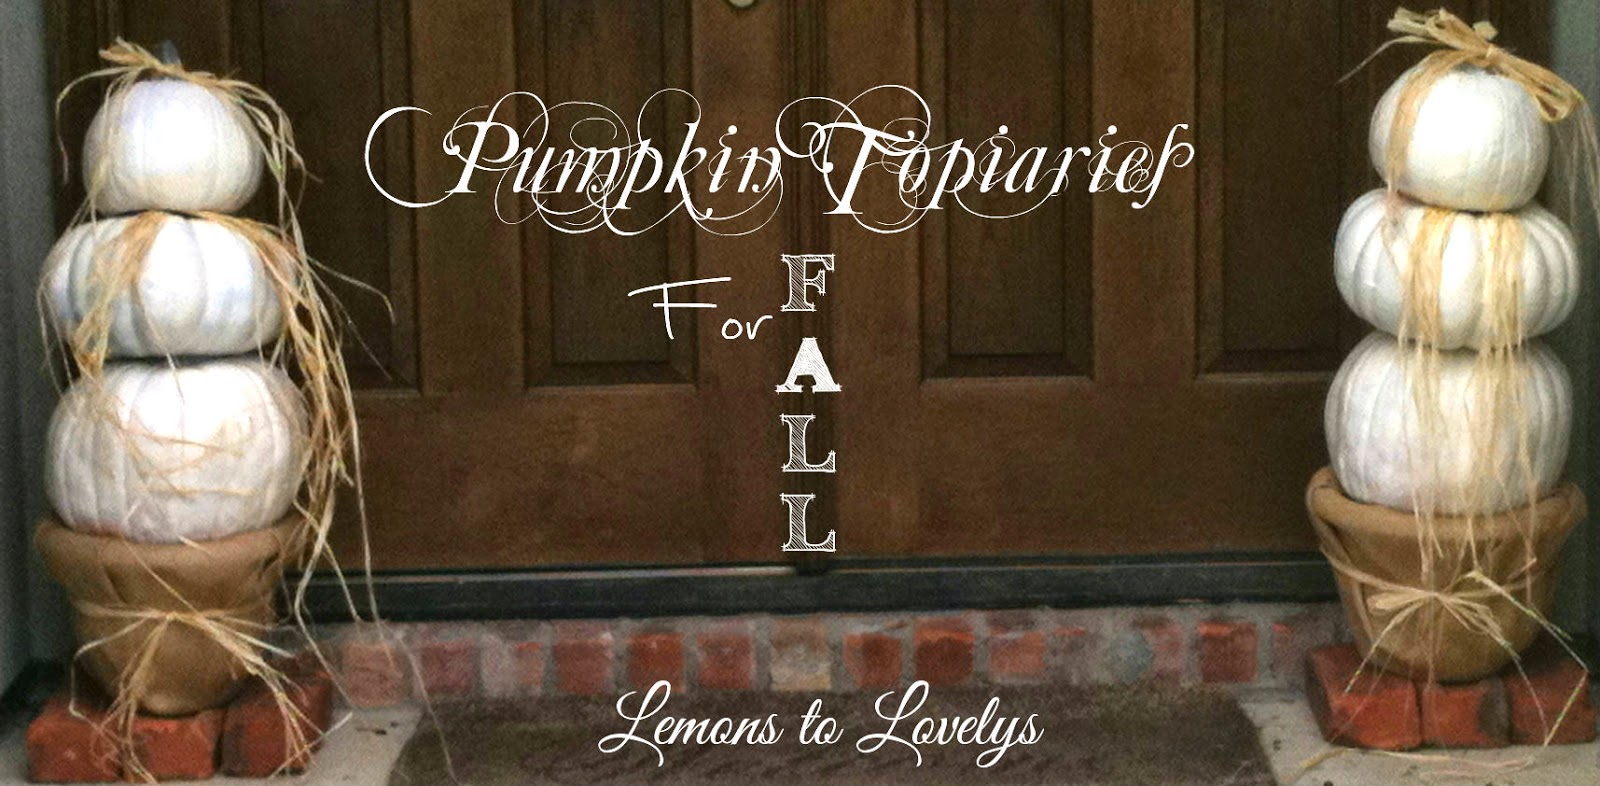
Next, I tied some raffia around the stems of the middle and top pumpkins. (you could leave this part out, or add Fall leaves, or burlap ribbon if you'd rather). Then, I took a plastic pot from Dollar Tree, wrapped it in burlap, and filled it with bricks to weight it down. Then I tied some raffia around the center of the burlap and pot to keep the burlap in place. And tah dah......
 |
| close up |
Next year, I might try to put these in some taller urns to give them more height.
Email me pictures or message me on
Facebook if you try this tutorial!
Hope you're having a great Fall!
Remember, when life hands you lemons, turn them into something lovely!
-Marci
Labels: dollar tree, Fall, Fall leaves, hobby lobby, painted pumpkins, pumpkin topiaries, raffia