Hello Lovelys,
Today's post has been in the works for a while now. I have been wanting to give our master bedroom a makeover for a few years, starting with having the walls painted. I just recently got around to this massive project about 6 months ago. I really wanted to get new furniture (bed, end tables, and dresser) but my husband nixed that idea before I could even get the whole sentence out of my mouth! So, the next best thing was to paint our existing furniture! He wasn't terribly excited about that either but knew it needed to be done because of the scuffs and marks that had accumulated on the end tables over the years. His only request was that I not use anything that leaves the furniture feeling "sticky". (aka wax!)
I am such a big
Annie Sloan Chalk Paint fan but I have used it so many times for all of my other painting projects that I decided to do something different and go with
CeCe Caldwell's products for this project. I half way regret it and I'll tell you why later in this post.
First, here are some "before" pictures of our master bedroom furniture...
DRESSER
 |
| All of our furniture is from Direct Buy in Dallas. The brand is American Drew. |
END TABLE
HEADBOARD
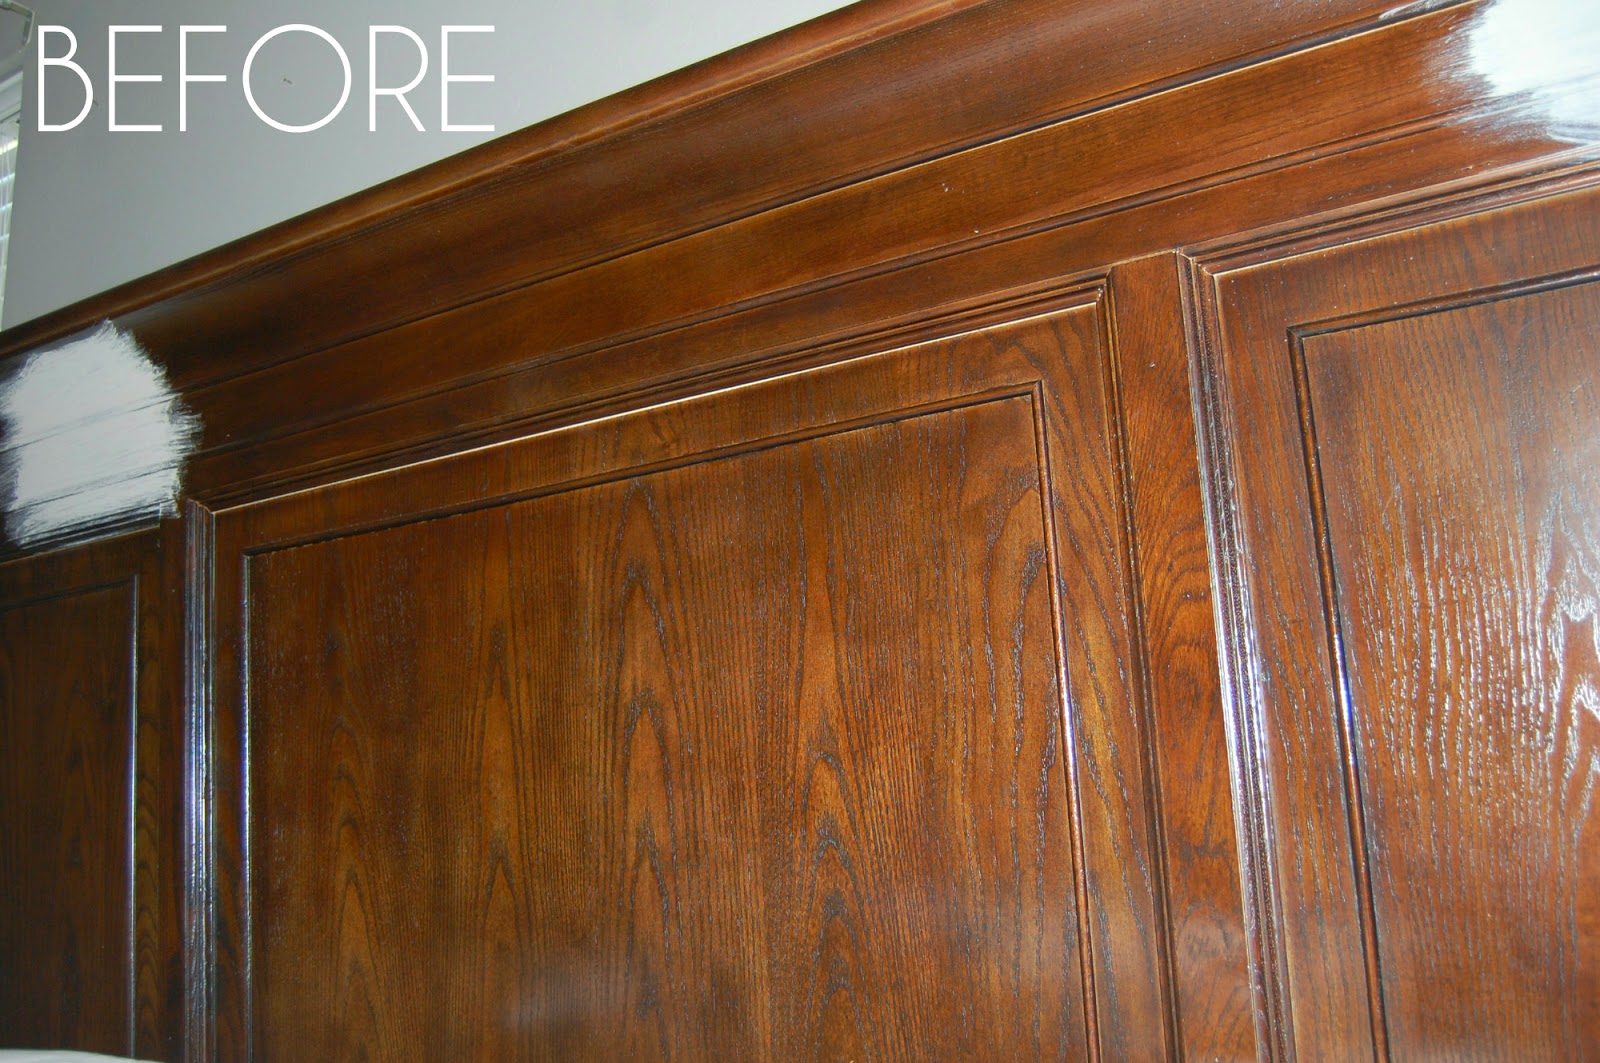 |
| You can see where I started testing paint colors |
I was excited to use
CeCe Caldwell's paint because of the 36 colors and multiple finishes to choose from as opposed to just using
Annie Sloan's wax to achieve that aged look.
I ended up choosing "Young Kansas Wheat" as my paint color, "Cypress Umber Dark" Glaze at 4g for my finish, and "Endurance Finish" as my sealer/top coat. (all by
CeCe Caldwell's). I will explain how I applied each of these below.
Here are some "After" pictures of our Master Bedroom...

 |
| My MIL gave me these silver frames with the white mats for Christmas and I LOVE them! My husband made me this shelf specifically for these frames out of a board that ripped away from our fence in a storm. |
MATERIALS I USED FOR THIS PROJECT...

First, I painted all of the furniture with 2 coats of "Young Kansas Wheat" Chalk/Clay Paint.
CeCe's paint is VERY thick! If you thought
Annie Sloan's chalk paint was thick, wait till you see this stuff! You definitely have to spend more time spreading it around than
ASCP. However, even as thick as it is, I still needed 2 coats to completely cover the dark wood stain. I waited over night for it to dry. Over night wasn't totally necessary, but it does take longer to cure and fully dry than
ASCP. After the paint dried, I applied 1 coat of
Endurance Finish by CeCe Caldwell's. (sidenote-if you put glaze or dark wax directly on to your base coat of paint, the paint will absorb ALL of the glaze/wax in the spot where you put your brush and you will end up with a brown smudge that cannot be rubbed out or spread around. This is why I used Endurance Finish first* Endurance Finish is NOTHING like clear wax by
ASCP in terms of consistency. It's as thin as water and goes on very wet just like plain water. It dries very smooth and completely clear and does not yellow or stain your base coat. After letting it dry and harden overnight, I applied 1 coat of Glaze in "Cypress Umber Dark" @ 4g. *sidenote-the 4g refers to the darkness of the glaze. You can get it in different strengths to adjust your glaze color depending on the look you are going for.

This was somewhat of a frustrating disaster! When I bought the glaze, it came in 2 different containers- 1 for the pigment (left) , the other just clear glaze to mix the pigment with (right, after the pigment was added). I thought this was kind of cool because you can add as much pigment as you want to make your glaze the right shade for your project. (just add slowly if you try this because you can always add more color but you cannot take any away) Once I had it mixed, I thought the glaze was pretty and definitely a different look than the dark wax by
Annie Sloan, but so much harder to apply! (in my opinion) Like the Endurance Finish, the glaze is very watery and if you get too much on your brush (which is very easy to do) it's nearly impossible to get off! I recommend keeping a rag handy to constantly wipe back excess glaze from your furniture in order to avoid ruining your paint job. This is what I did and still screwed up pretty bad! I constantly had to wipe back some of the stain and even then I didn't like how it turned out. In some places I had to go back and start completely over with a new coat of paint because I couldn't remove enough of the glaze. (sidenote-if you do mess up and have to go back and start over with paint, you cannot just paint your boo boo and then glaze over that one spot. You have to paint the entire section over again or you'll be able to tell where the boo boo started and stopped!) Uggggghhh I'm getting frustrated just thinking about it.
Anyways, then I moved on to the knobs. At first I was going to glaze the entire piece to make it look antique, including the knobs. Then I messed up on the drawers so badly that I just decided to leave the frame of the end tables and dresser glazed and repaint the face of the drawers with just Young Kansas Wheat. When I did that, the glazed knobs stuck out like a sore thumb! (in my opinion)...
 |
| Here is a picture of one of the end tables with glazed knobs. I don't like this look! |
 |
| You can see on the top left drawer where I immediately painted over a knob to see if I liked it any better after looking at all of the glazed knobs on the dresser! yuk! |
So then I tried to avoid painting ALL of the knobs all over again and swapped them out for these crystal knobs that I took off of our bathroom cabinets...
 |
| I like this look MUCH better! But at $3.50 a knob I would be spending a LOT more $ than I intended to change out the hardware on all of our furniture. I still might do it but for now, I repainted all the knobs with Young Kansas Wheat to blend in with the faces of the drawers. |
 |
| Much better, I think! |
Much, much better!
Here are some detail shots of the glaze finish...
Overall, sometimes I look at SOME portions of the furniture and say to myself "wow, I really like how that turned out!" And then I walk around to the other side of the same piece of furniture and say to myself "uggggggggghhh I hate the way that turned out!"
Full view of the finished project one more time....
 |
| I started by painting the dresser and end tables first and by the time I got to the headboard, I was SO sick of that darn glaze that I just sealed it with Endurance Finish and called it quits. So, the headboard is actually just 2 coats of Young Kansas Wheat. (I actually kind of prefer it that way!) |
Overall, I will probably use
CeCe Caldwell's paint again because I do really like the color choices! Young Kansas Wheat was exactly what I was looking for to lighten up our furniture and work with the gray wall color. But, I WILL NEVER use the glaze again!
Well that's it for today. If any of you have better luck with the glaze please email me and let me know your trick! lemonstolovelys@gmail.com
Remember, when life hands you lemons, turn them into something lovely!
-Marci
Labels: annie sloan, bed, benjamin moore, cece caldwells, end table, fence board, french linen, glaze, master bedroom, pottery barn, RH, rockport gray, silver frames, stein mart, Target, tj maxx, young kansas wheat


